Buttery, flaky homemade croissants are the perfect weekend indulgence. Follow these step by step instructions to enjoy your own freshly baked croissants any time you want!

Flaky, buttery homemade croissants are my favourite breakfast indulgence. While I have always enjoyed croissants, it wasn’t until I tried my first one in France that my love affair with them truly began! Instead of the crisp, flaky, and dry croissants of my local supermarket, the ones I had in France were a tantalizing mix of tender, buttery, slightly doughy layers of flaky pastry. I was in heaven!
Returning home, I was determined to recreate the croissants that I had enjoyed so much. Making a pastry like croissants can seem intimidating. It takes 3 days to truly create the best croissants and that can be daunting to some. But the great the thing about croissants is that the actual amount of active time is relatively low. With a little pre-planning, you too, can enjoy warm, buttery fresh croissants anytime you want!
Timing
Much is often made about how long it takes to make croissants which is, I admit, a valid concern. But the moment you take your first bite of a warm croissant fresh from the oven I’m sure you’ll agree it was all worth it!
The process can be broken down into three parts: preparing the dough, lamination and shaping, and proofing and baking. Day one you will make the dough. This is arguably the easiest and quickest part. Day two you will laminate and shape the dough, which is the longest part of the process. Day three you will proof and, finally, bake your croissants!
Here is the schedule:
- Day one: Prepare the dough and refrigerate.
- Day two: Laminate the dough, shape the croissants, and refrigerate.
- Day three: Proof the croissants and bake!
So, to enjoy fresh homemade croissants on Sunday morning, you will need to start Friday evening. My typical schedule is to make the dough Friday evening, laminate on Saturday afternoon, and bake them Sunday morning so they’re ready to enjoy with a mid-morning cup of coffee!

Ingredient Notes
Unsalted Butter: The most important ingredient! Croissants get all those amazing, flaky layers by repeatedly folding the dough with a layer of butter in a process called lamination. After three folds, the dough ends up with 27 ultra-thin layers of butter, so it’s imperative to pick the right butter. Be sure to use unsalted butter. The croissants will have a distinctive buttery flavour so if salted butter is used then the overall taste might be too salty.
All-Purpose Flour: We are at a slight disadvantage here in North America as we don’t necessarily have access to French flour. In France they typically use Type 55 flour. If you can source it, then certainly give it a try! I use all-purpose flour which will work just fine.
Yeast: I use traditional dry yeast in this recipe. I find it easier to work with than instant and it is readily available.
Salt: Be sure to add salt to your dough since we are using unsalted butter in the lamination.
How to Make Homemade Croissants
Follow these instructions step by step and you will be enjoying your very own homemade croissants in no time!
Prepare the dough
Begin by activating the yeast. Measure 1 cup of warm water into a small bowl and add a pinch of sugar and the yeast. Stir briefly and then set aside to bloom. Add the flour to the bowl of a stand mixer.
When the yeast is bubbly and risen, after about 5 minutes, proceed with the recipe. If the yeast has not activated and isn’t bubbly, then the yeast is no longer alive and needs to be discarded.
To the flour in the mixer, add the yeast and water mixture, sugar, salt, and melted butter. Briefly stir the mixture together with a spatula then attach a dough hook. Mix on low with the dough hook until the dough comes together. Continue to scrape down the sides until the dough is combined.
Continue mixing with a dough hook for about 10 minutes until the dough is soft and stretchy. This process will develop the gluten that is necessary for the croissants to hold their shape, so don’t rush it. If the dough seems like it’s sticking to the sides of the mixer then you can sprinkle in a little flour to prevent sticking.
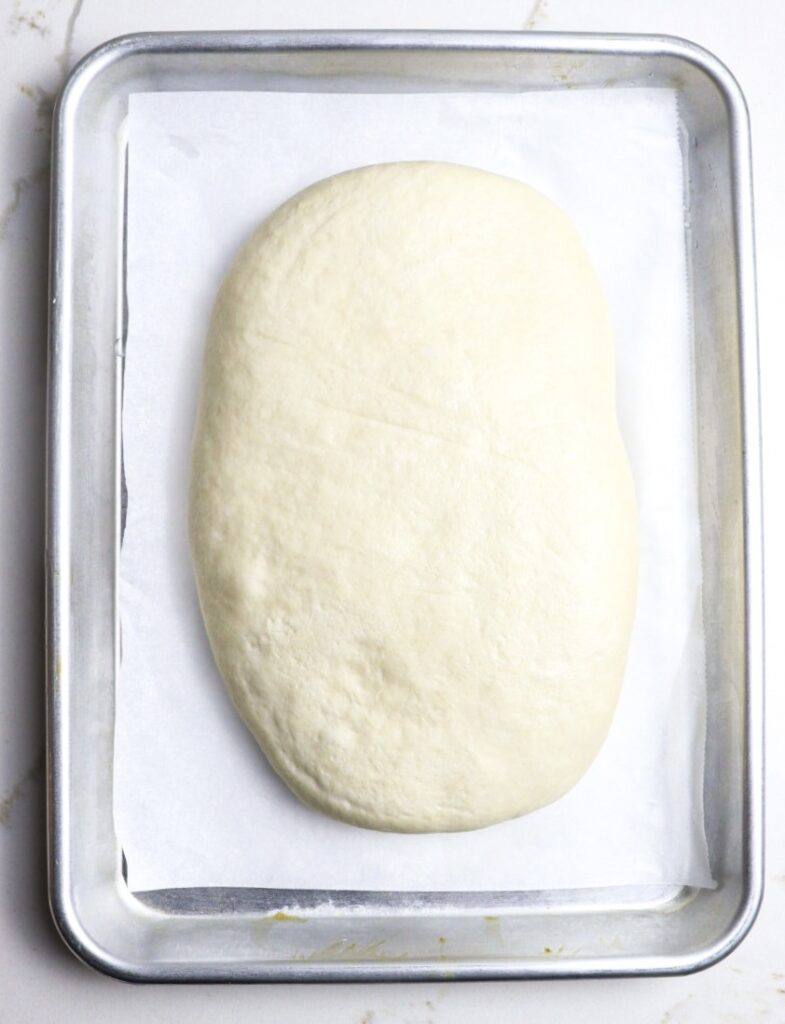
After 10 minute or so of kneading, take the dough out and lightly knead a couple of times on the counter to bring it together into a smooth ball. Press the dough out into a rectangle shape and place on a parchment lined baking sheet. Cover with cling film and refrigerate overnight.
Laminate the dough
The following day you will begin the process of lamination. The most important thing to keep in mind during this whole process is to work quickly and keep the dough and butter cold. The success of your final product hinges on properly creating all those layers. If the dough, and especially the butter, gets too warm, then the softened butter can squish out of the dough and not keep the individual layers separated.
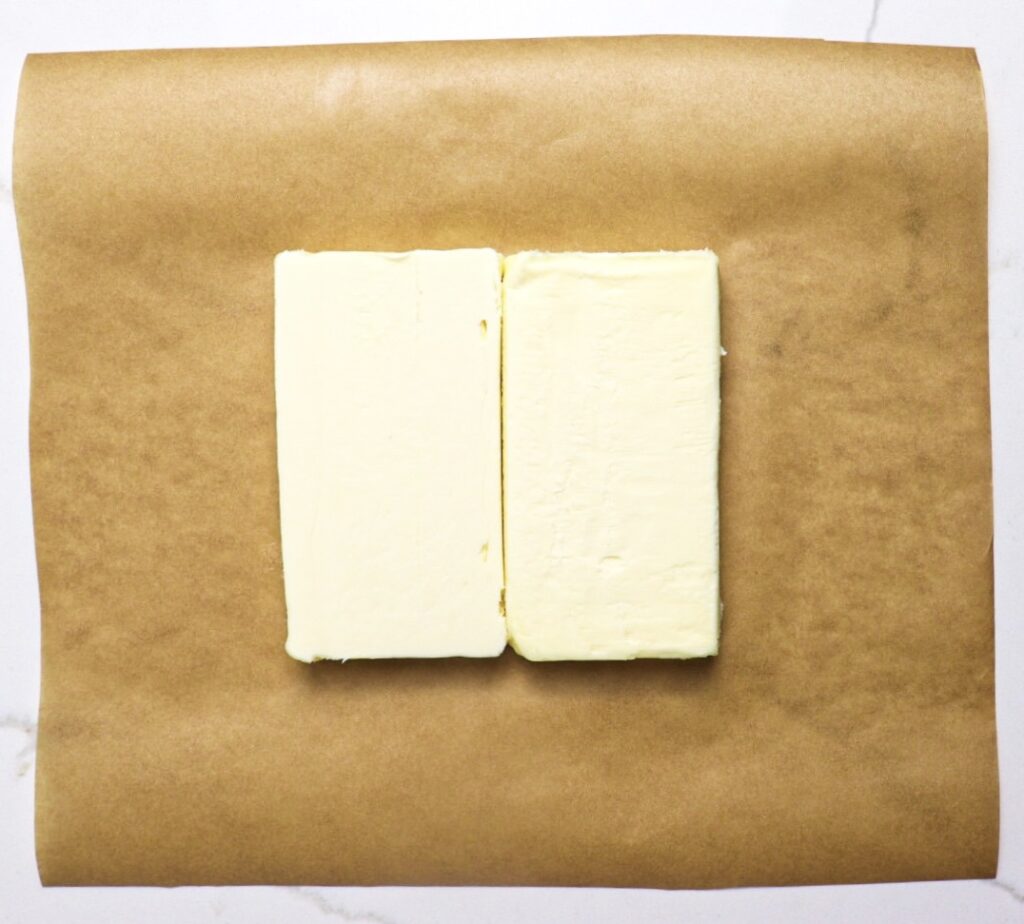
Start by creating a square block of butter. Take the unsalted butter out of the fridge and slice into slabs. Place the pieces together on a piece of parchment and cover with another piece of parchment. I like to let the butter sit for a couple of minutes to just take the chill off. Letting the butter warm up slightly will make it more pliable for rolling.
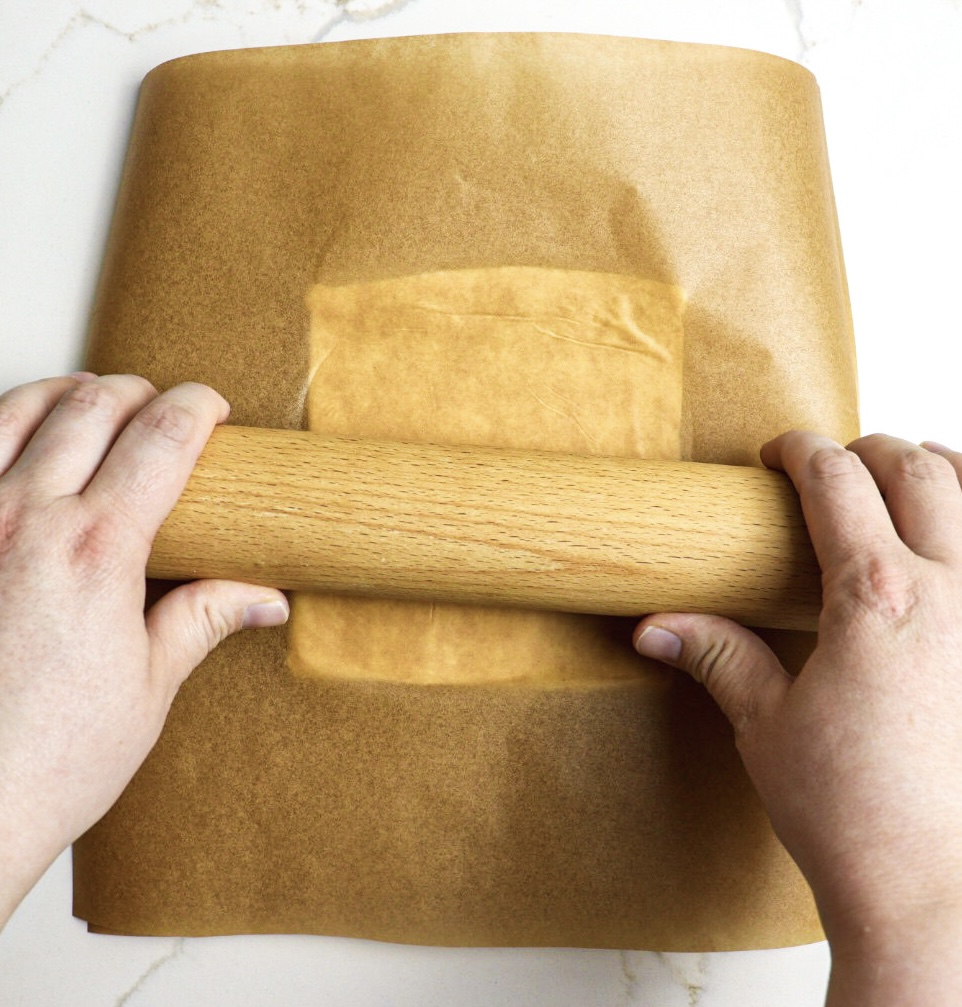
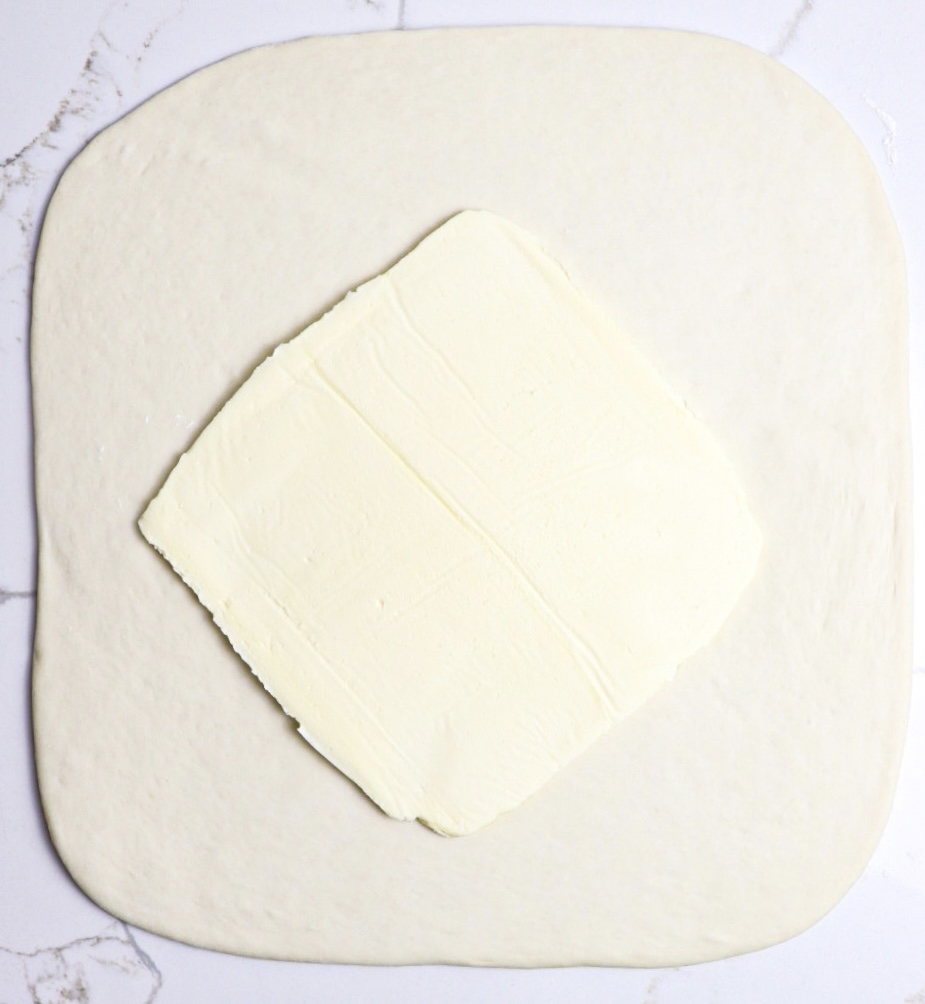
Roll the butter out between the parchment to make a 7.5” square. Use a ruler to shape the block by scrapping and pressing the sides of the butter back into a square shape. When the block has been formed place in the fridge for a few minutes to chill the butter down.
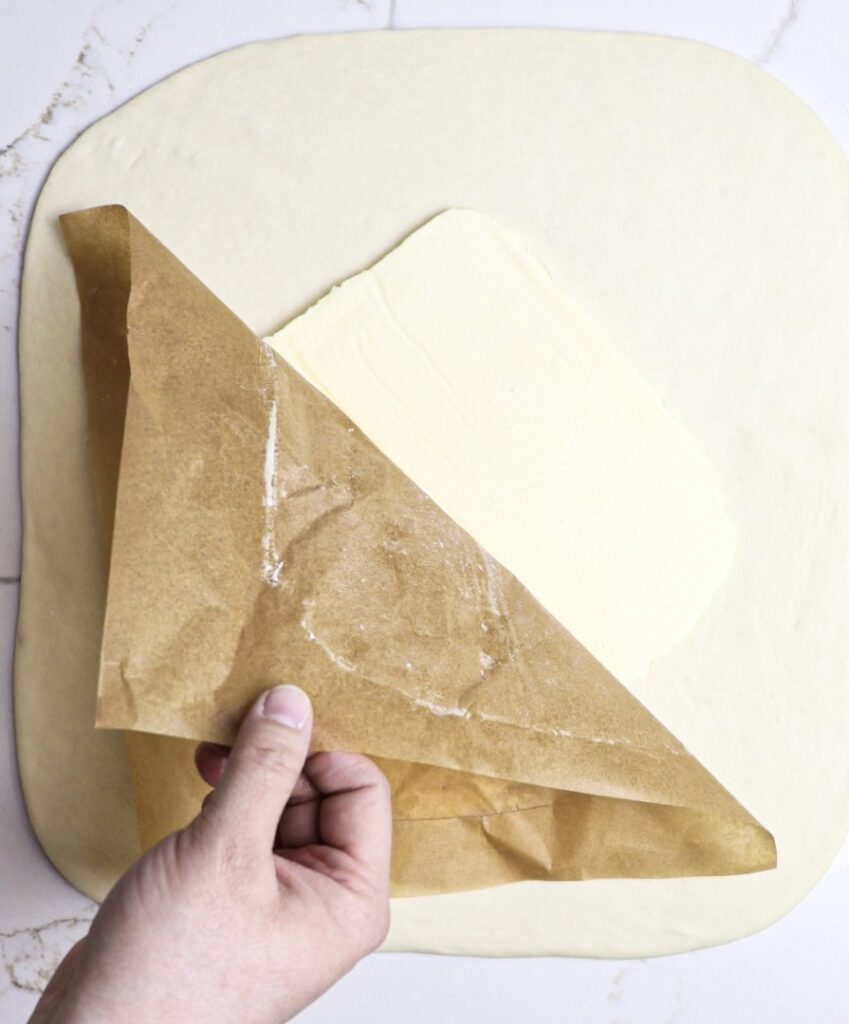
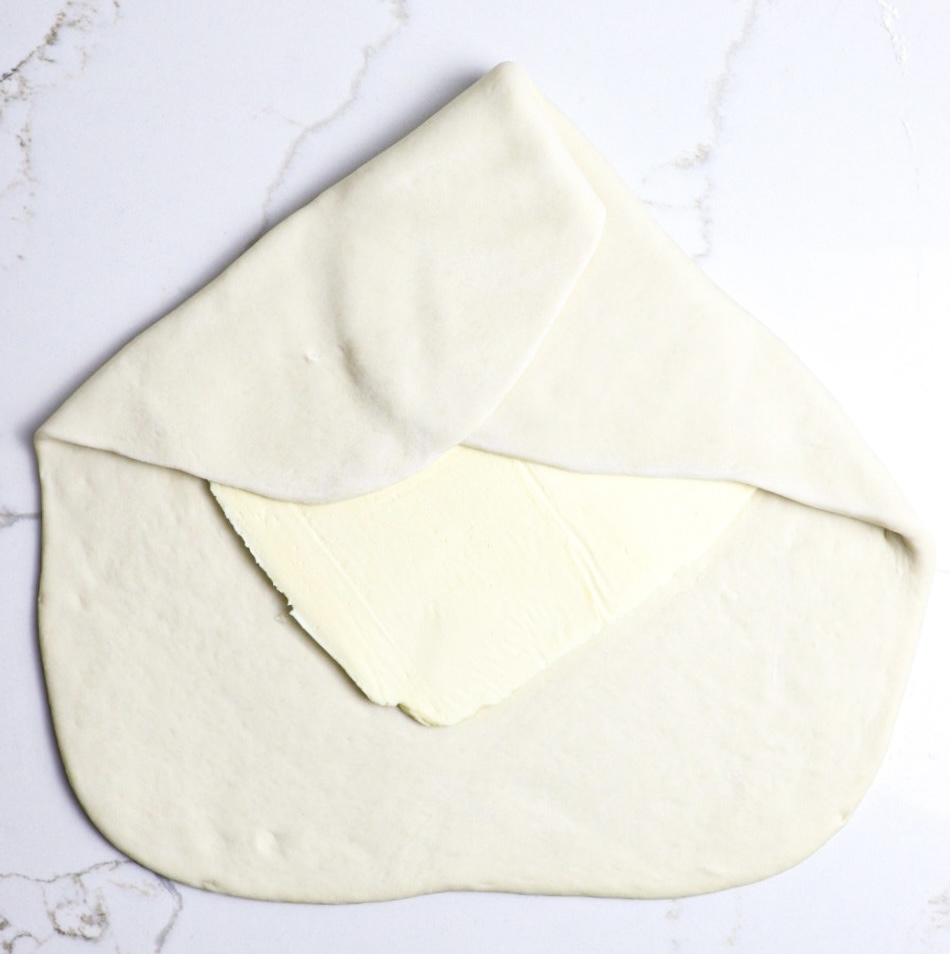
On a lightly floured surface, roll out the cold dough into a 13” square. Place the butter square diagonally on the dough. Bring together the four corners of the dough to completely cover the butter block.
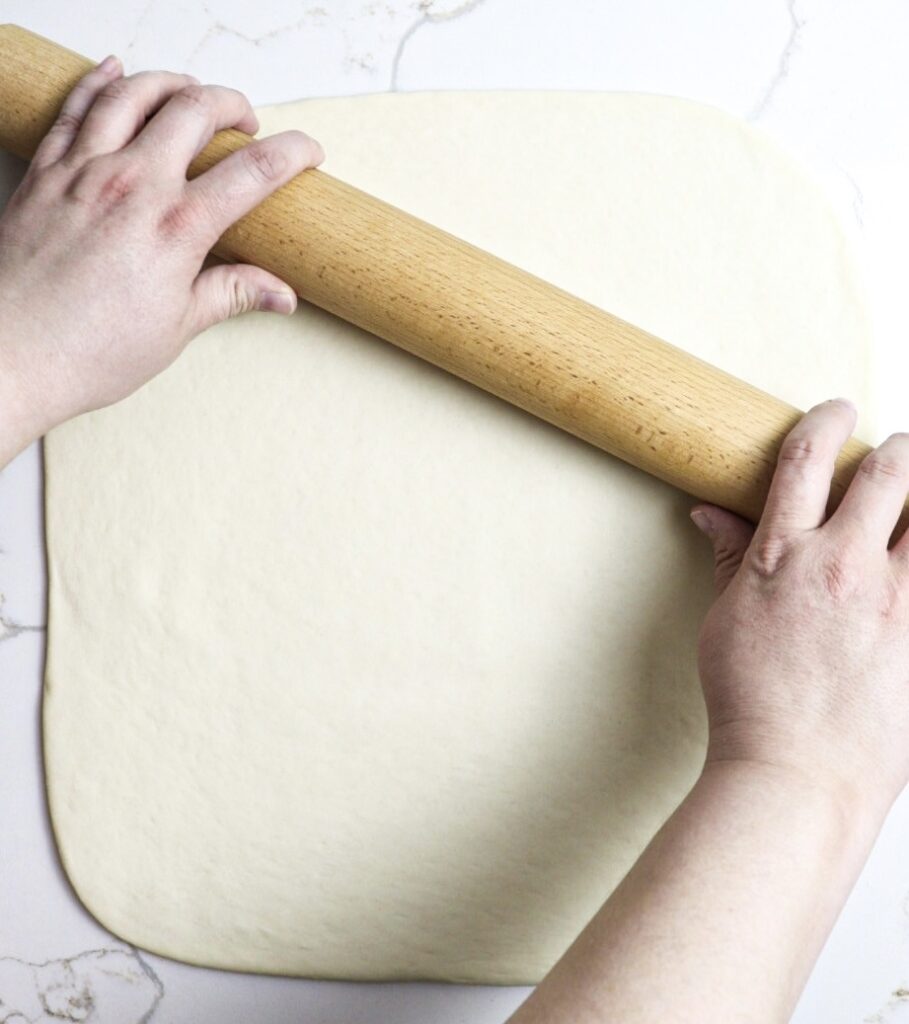
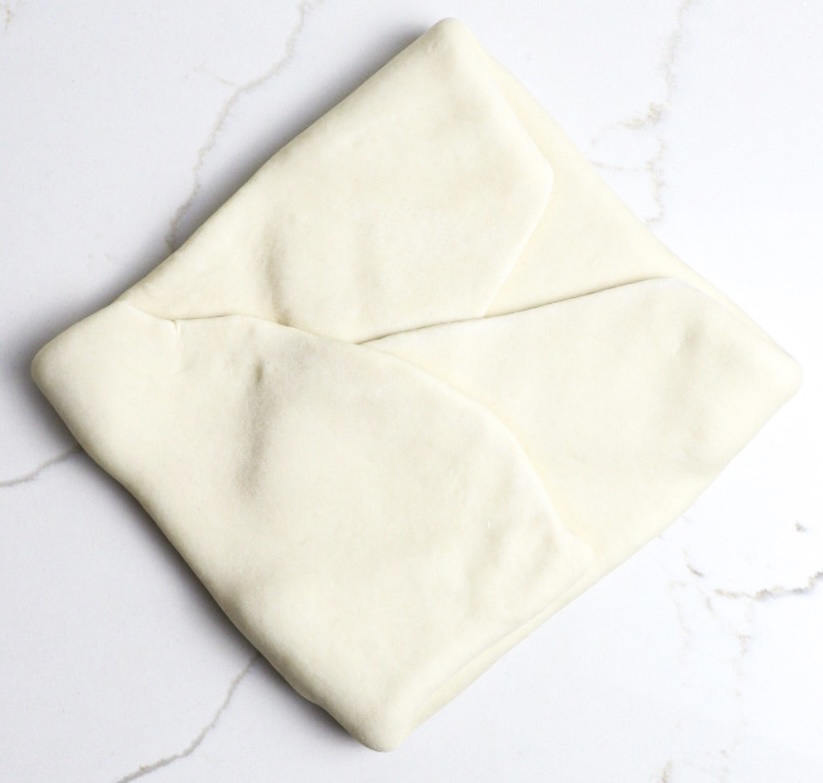
Gently, but firmly, begin to the roll the dough out. Be careful not to press or roll the dough too hard, as this could also wreck your layers. Be patient. Continue rolling and the dough will eventually get to where you want it. I like to flip the dough a couple of times and roll on each side.
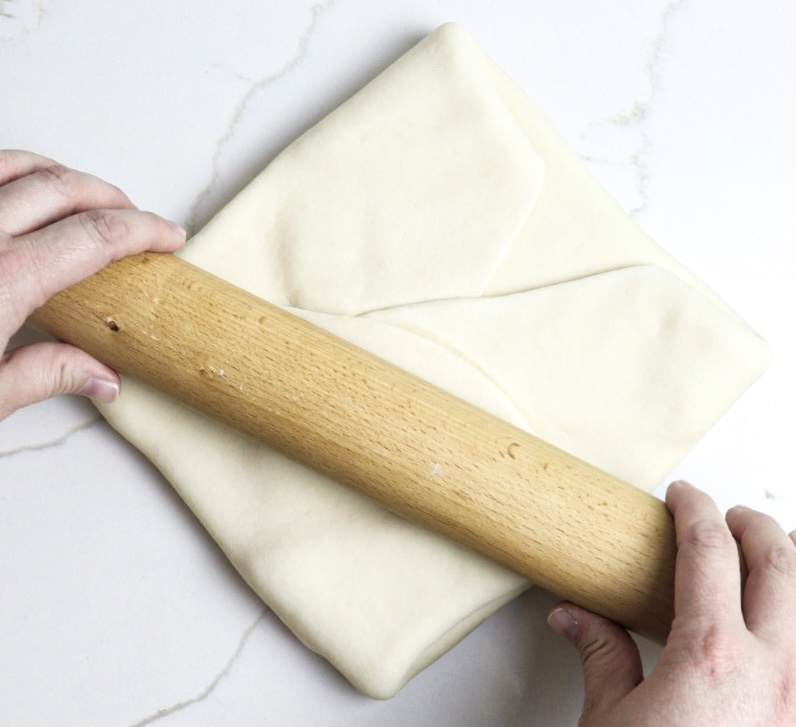
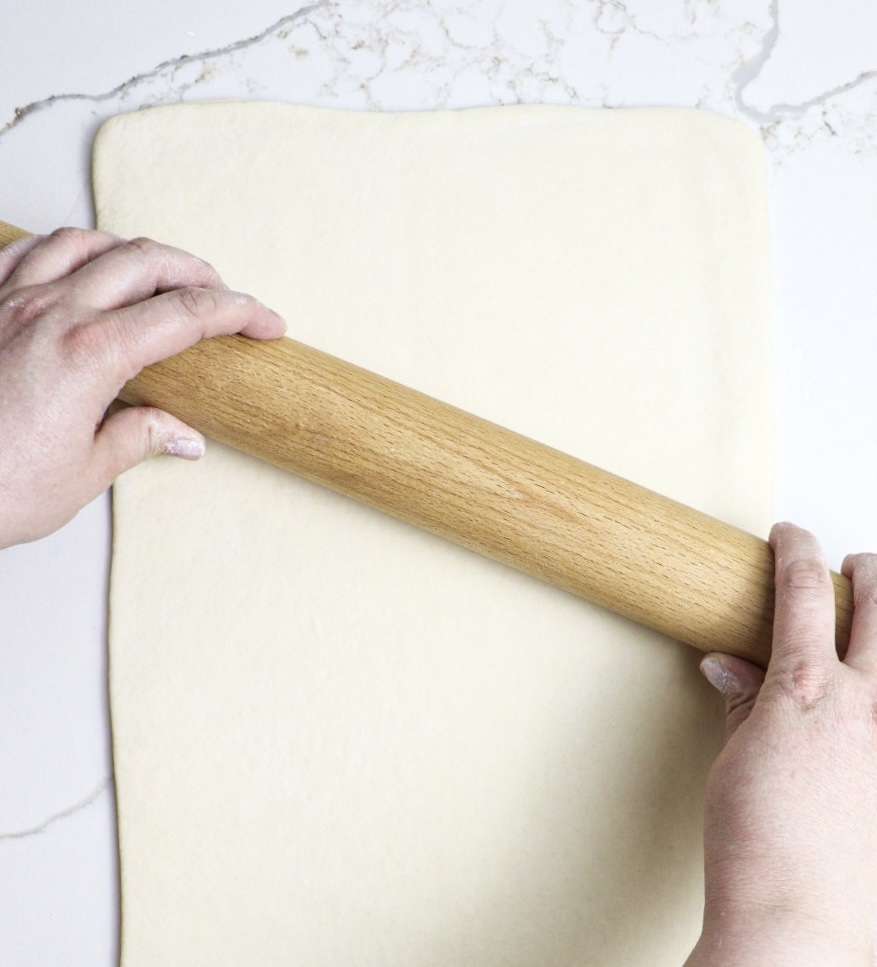
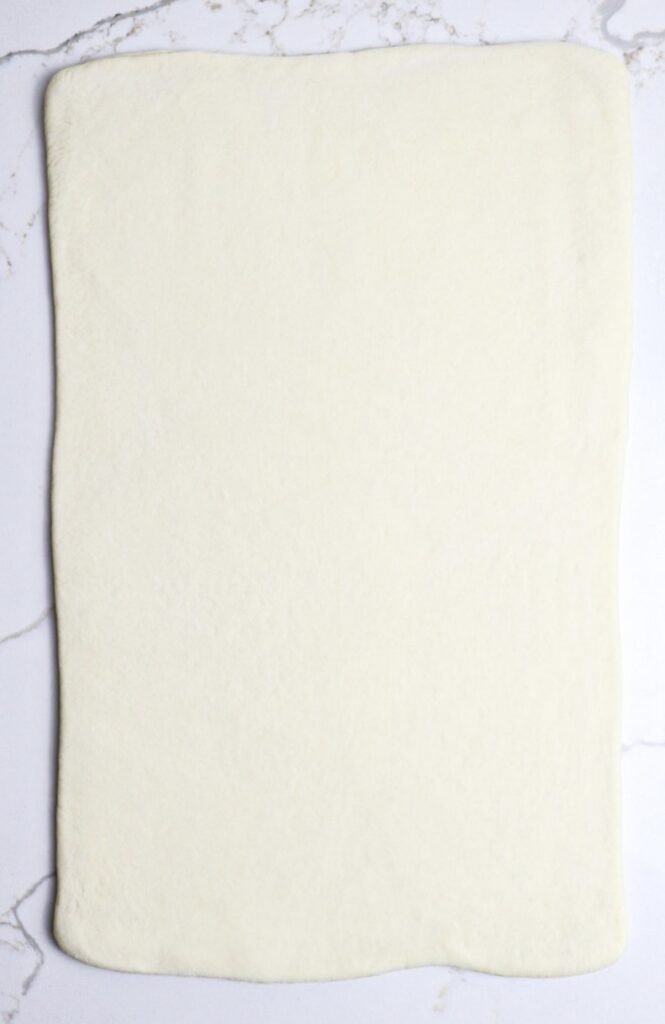
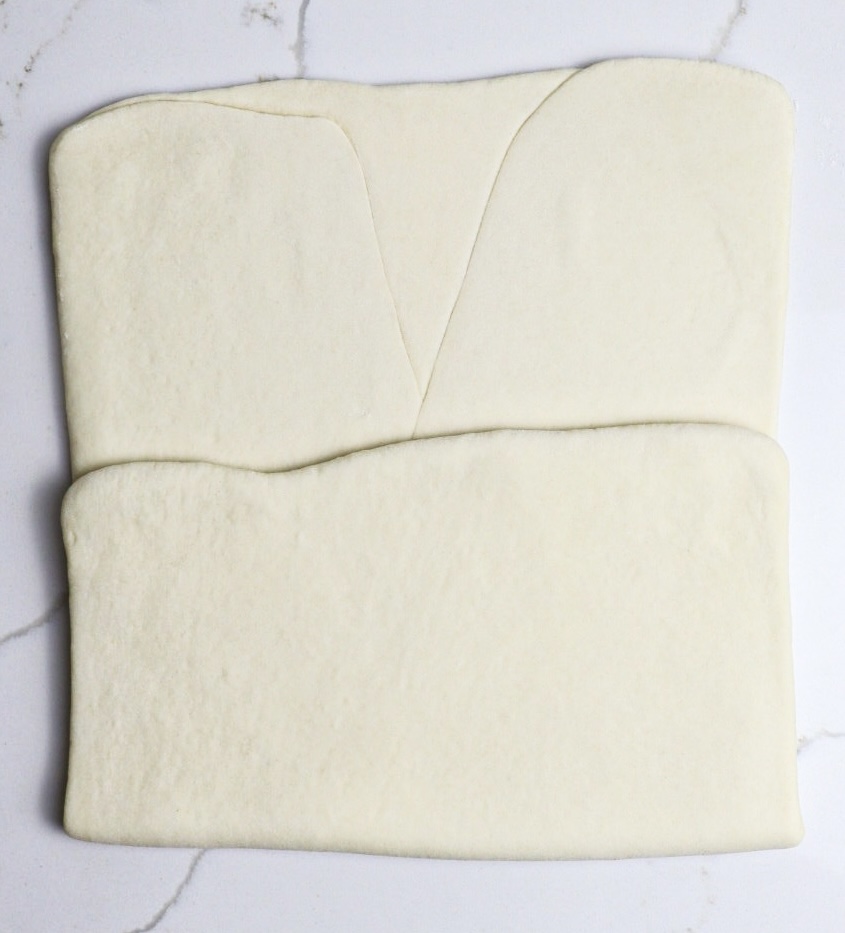
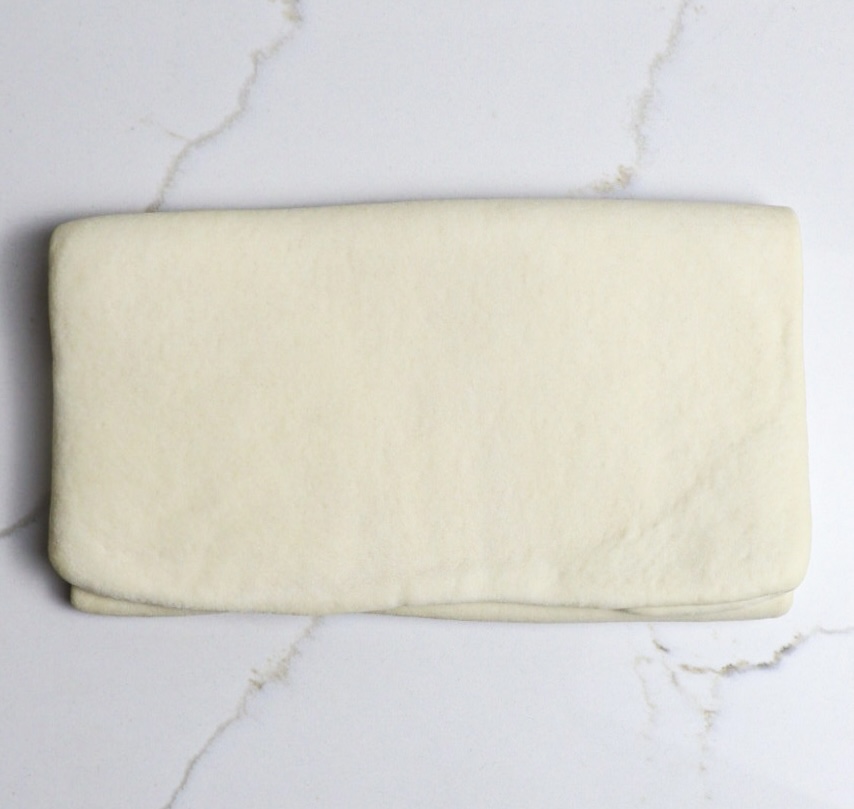
Roll the dough out to a 10” by 18” rectangle. Flip the dough so that the seam from the butter block is up. Brush the excess flour off with a pastry brush and fold the dough three times. The first fold should cover 1/3 of the dough, then bring the other side up to cover the first fold. Brush off the excess flour then place on a parchment lined baking sheet. Cover with cling film and refrigerate.
Refrigerate for 30 to 60 minutes between folds. I strongly suggest letting the dough rest for 1 hour between folds to allow the gluten to relax. If you try to roll the dough out too soon you will notice that the dough is tight and keeps springing back when you roll. If that happens, then just let it sit for a couple of minutes for the gluten to rest before continuing to roll.
To complete the lamination, repeat the rolling and folding process two more times. The first fold creates three layers of butter, the second fold creates 9 layers, and the third fold creates the 27 layers we are looking for.
Shape the dough
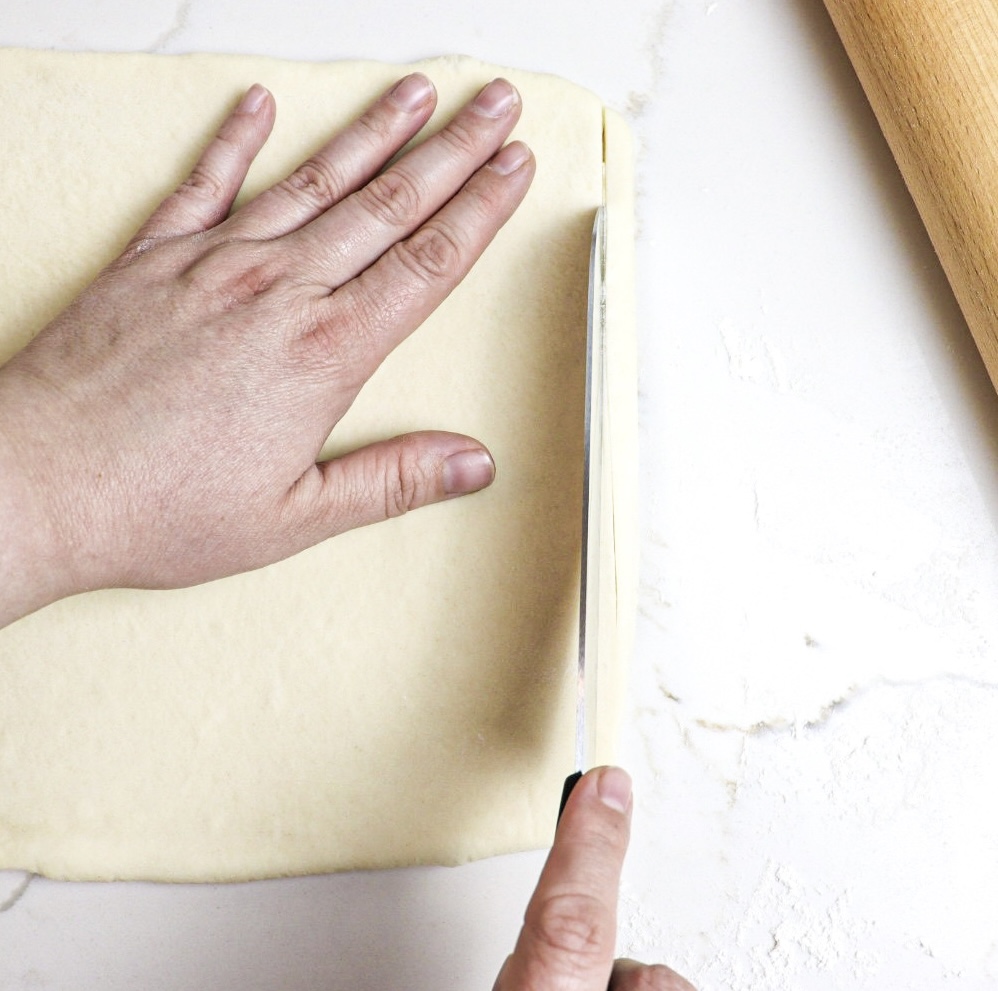
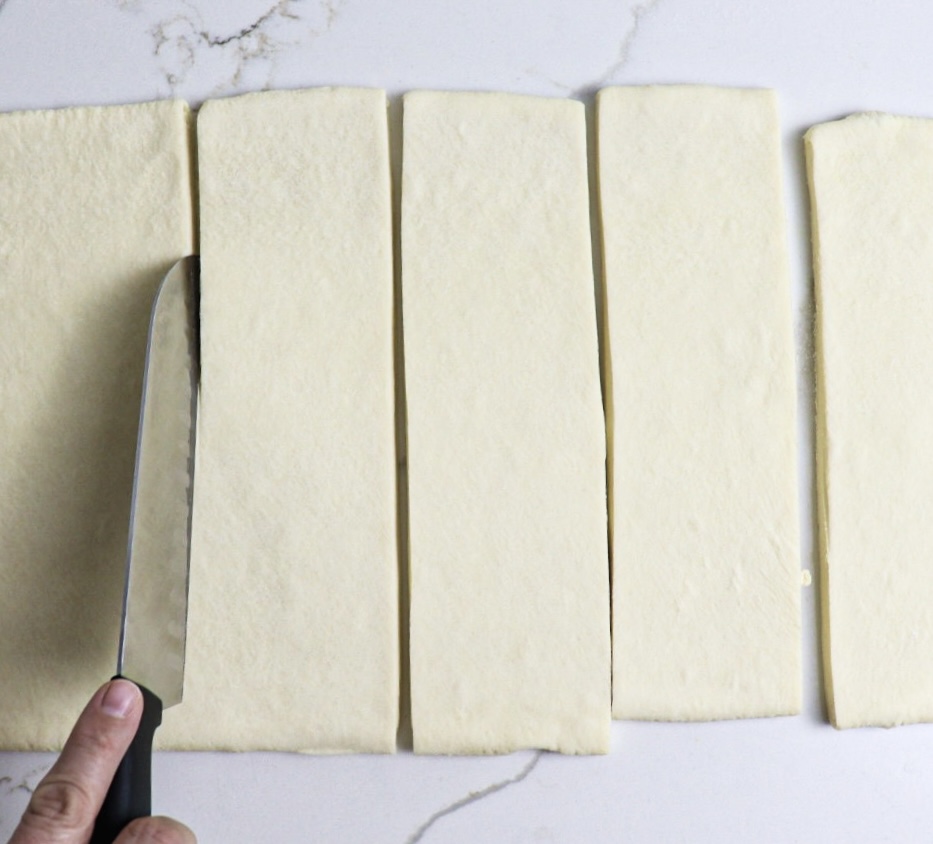
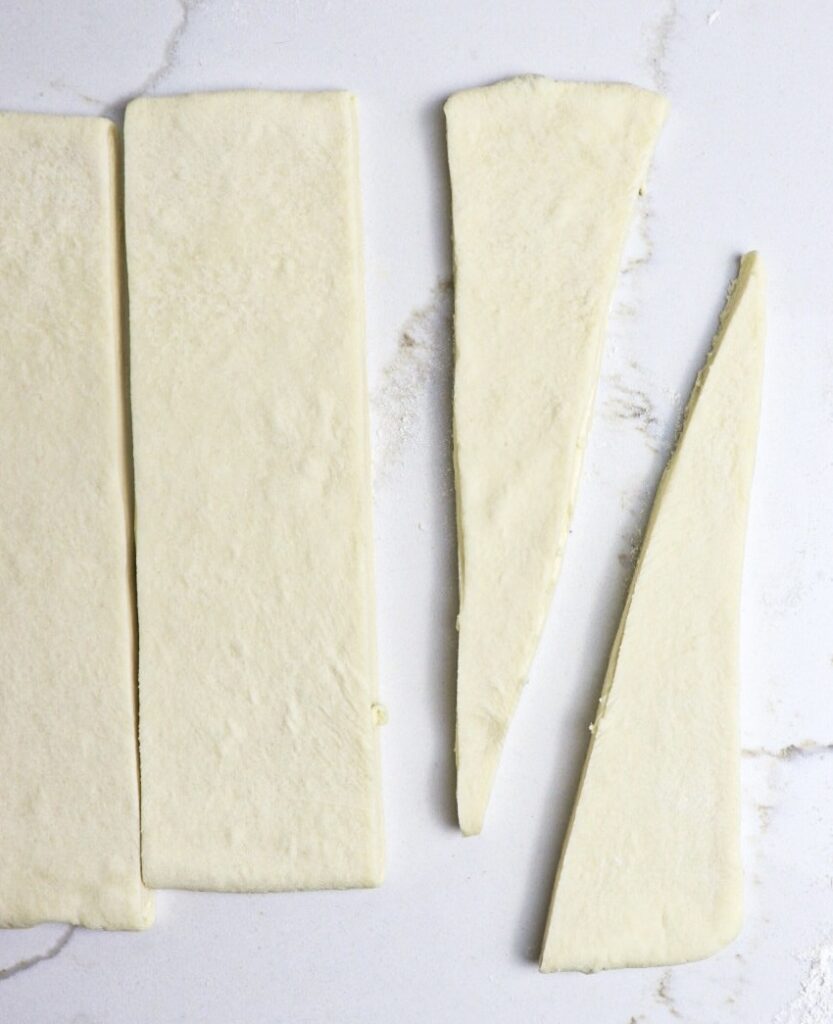
After the third fold, refrigerate the dough again to rest and then shape the dough. To shape the dough, roll it out to a 10” by 18” rectangle. Use a very sharp knife the slice the edges off the short ends of the dough. Divide the dough into six strips. Slice each strip in half diagonally.
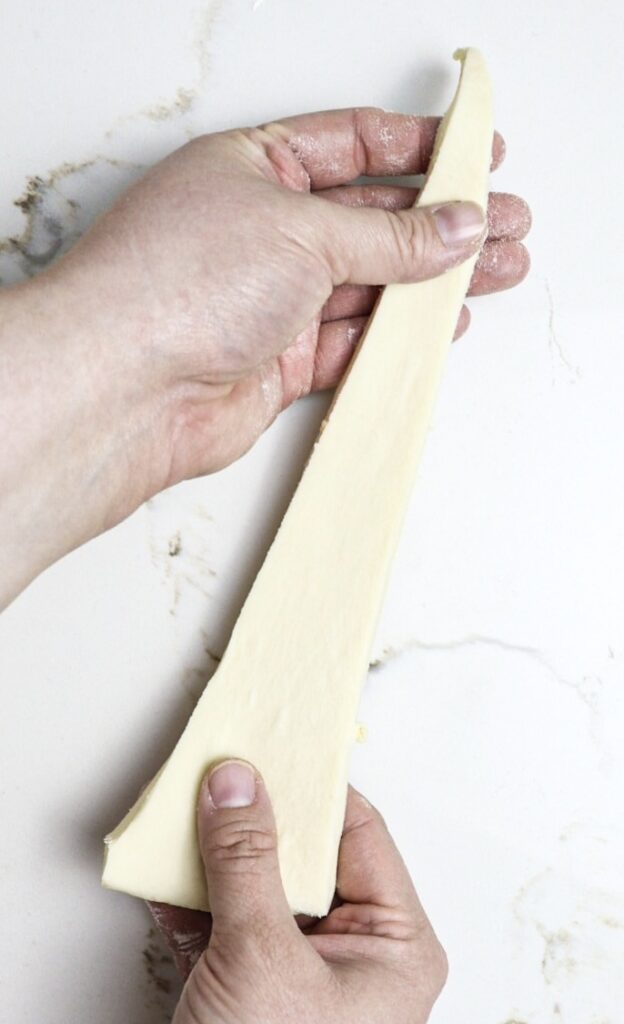
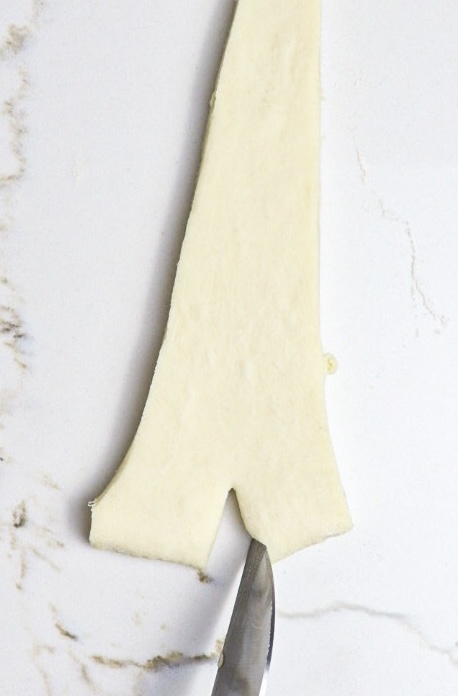
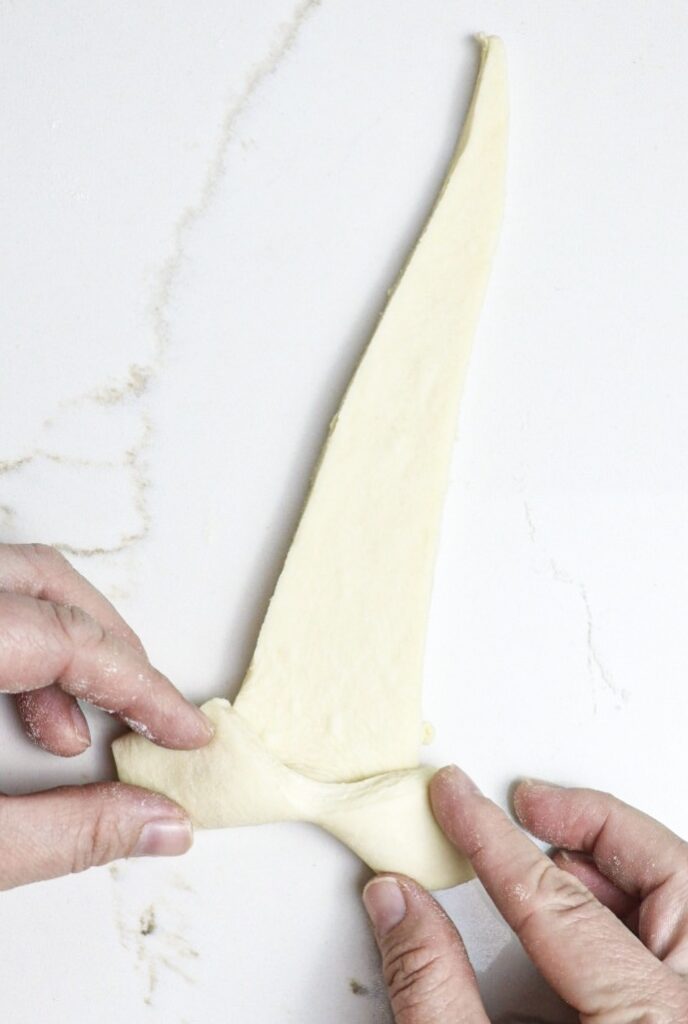
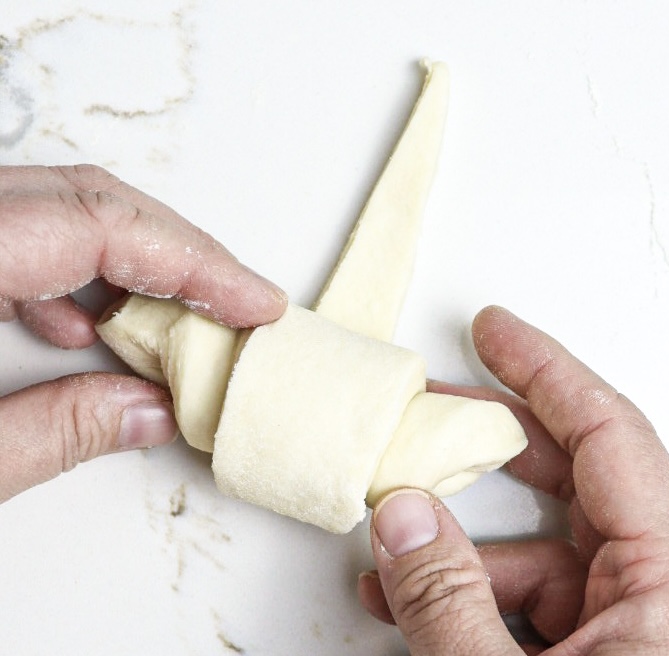
To shape the individual croissant, gently pull the triangular piece of dough to stretch slightly. Cut a 1 cm slit in the middle of the wide end of the dough. Pull the bottom edges of the triangle apart slightly and begin to roll up. Roll up the croissant firmly but gently, without stretching the dough too much.
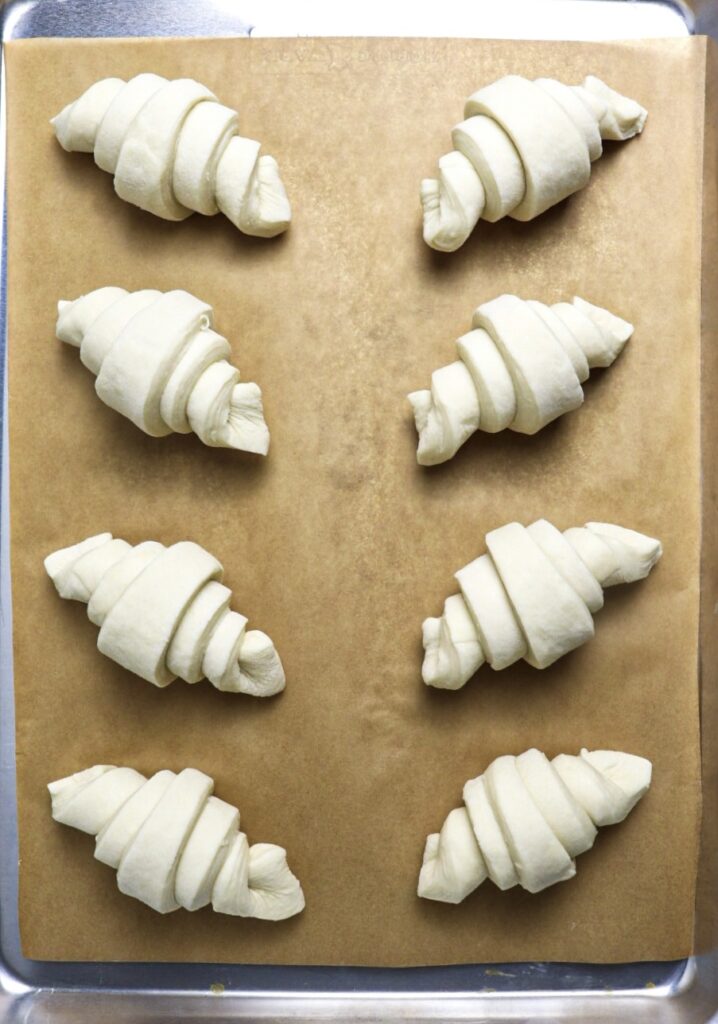
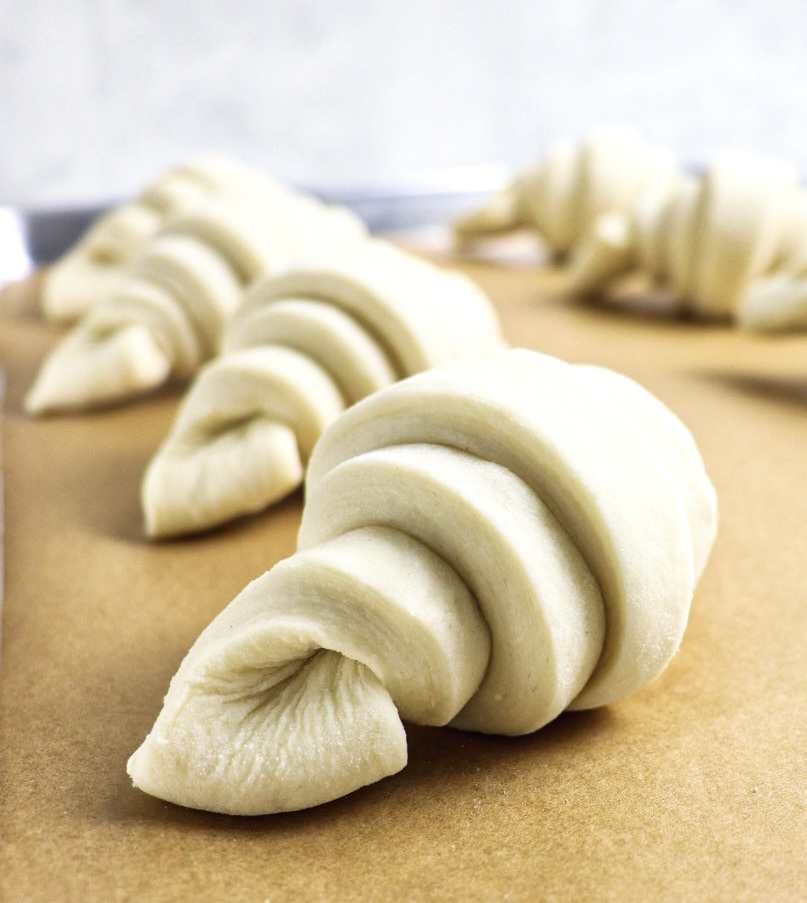
Place the croissants on two parchment lined baking sheets with the tail end tucked underneath. Ensure the croissants are spaced apart to leave room for rising. Cover with cling film and refrigerate overnight.
Proof the dough
The next day, take the croissants out of the fridge. Keep the croissants loosely covered either with the cling film or a tea towel. Allow the croissants to rise in a warm place for about 2 hours or until puffed and doubled in size.
To create a warm environment, you can turn the oven on to its lowest setting for a few minutes. But be careful not to let it get so warm that it will melt the butter layers you spent so long creating! It should just be slightly above room temperature.
Bake the homemade croissants!
When the croissants are double in size prepare an egg wash by whisking an egg with 1 tablespoon of water. If you proofed the croissants in the oven, then be sure to remove them before preheating to 400 deg F!
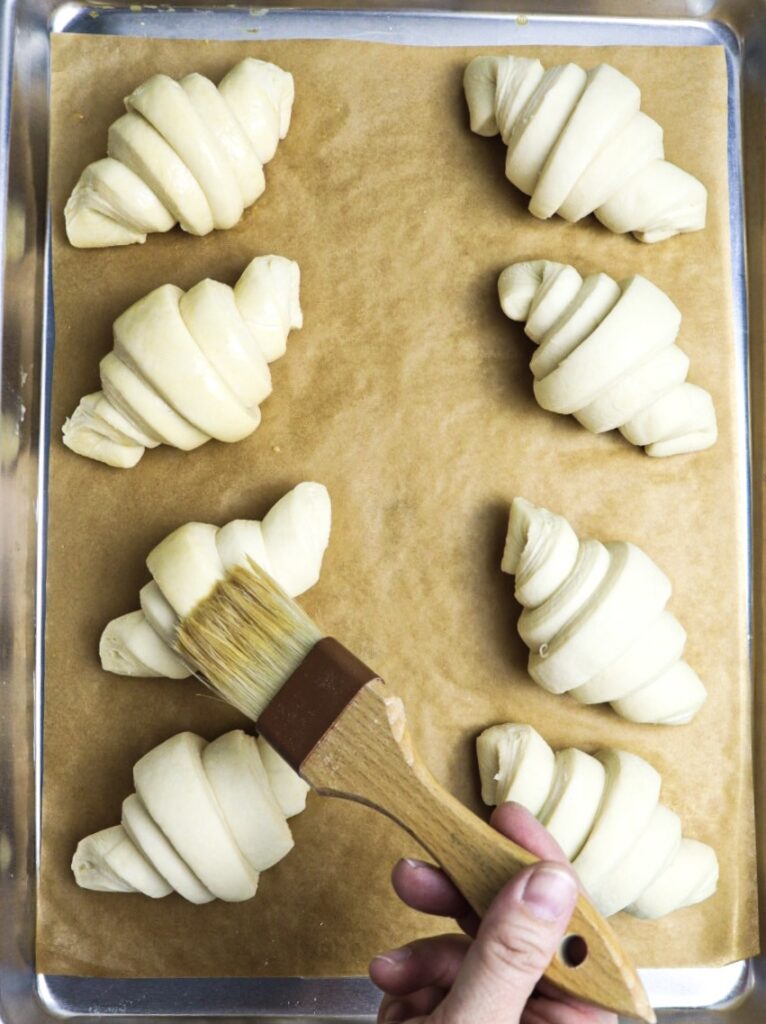
Brush the croissants with the egg wash. Bake for 18 to 20 minutes or until well browned. If you bake both pans at the same time, then flip the pans in the oven halfway through cooking to ensure even colouring. The croissants are done when they are well browned. Let cool, then enjoy the rewards of all your hard work!
Serving & Pairing Suggestions
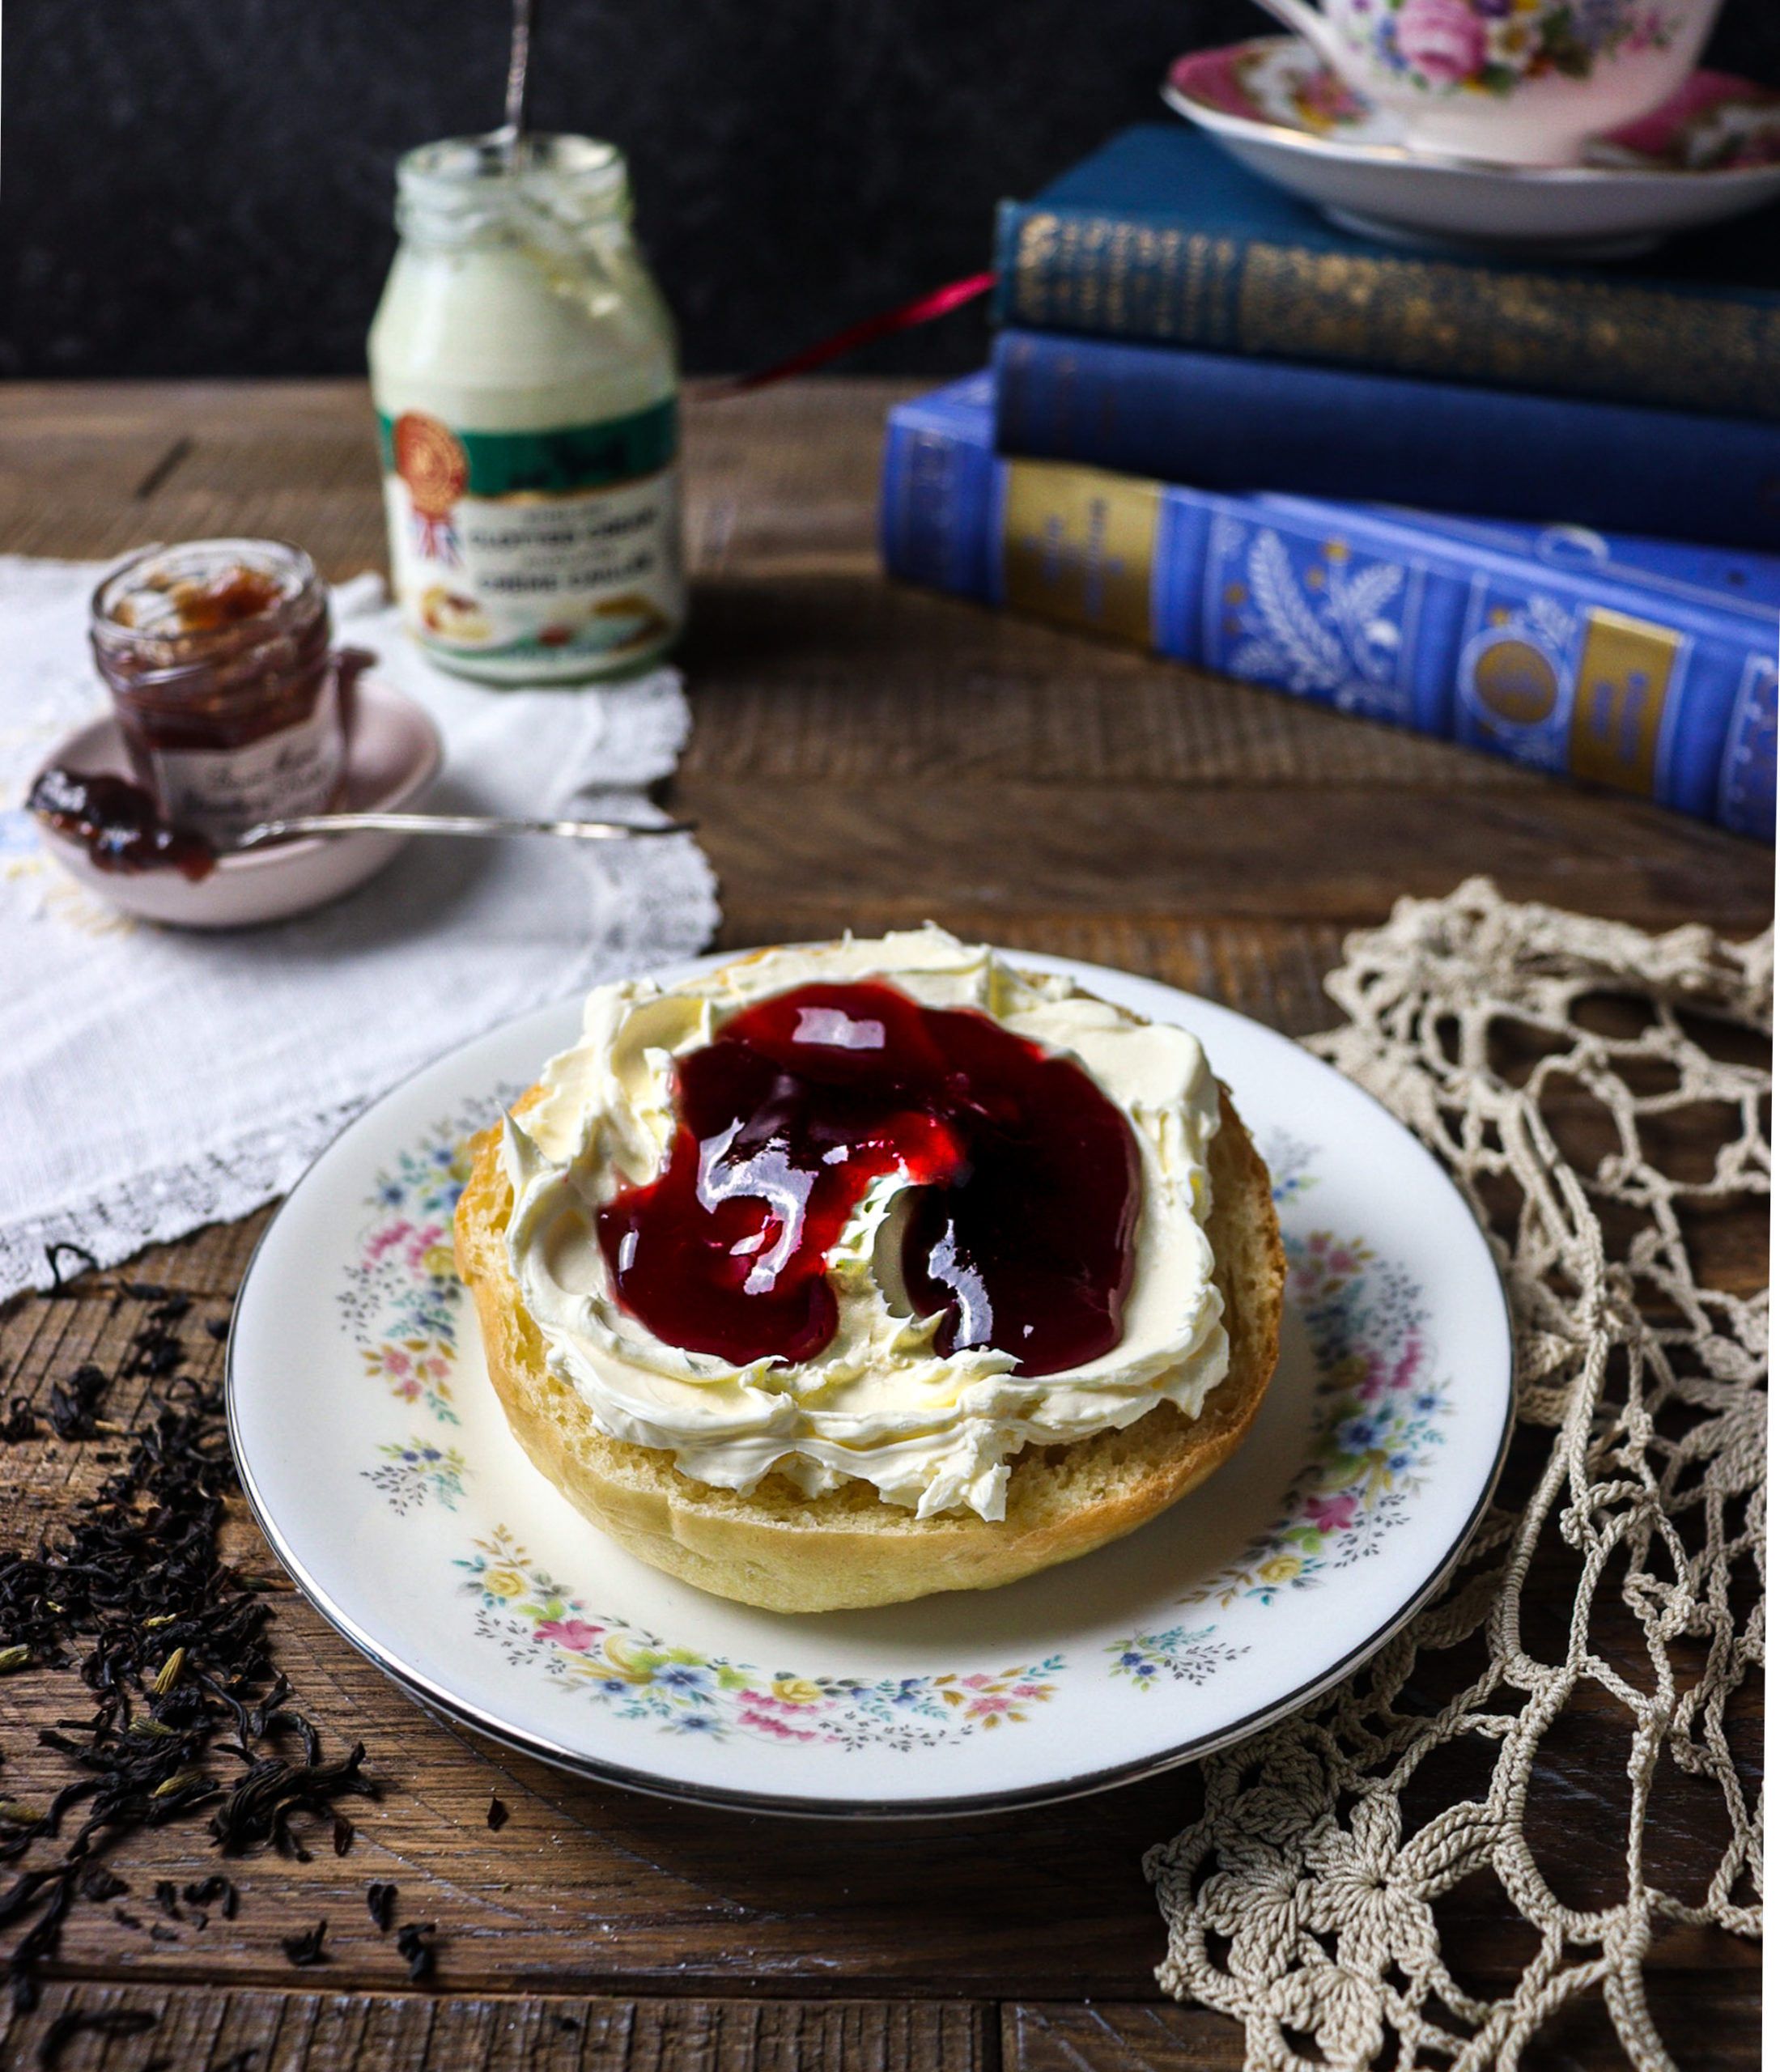
Homemade croissants are best enjoyed fresh out of the oven. Serve plain or with jam and a cup of coffee for your well-deserved breakfast indulgence!

More Pastry Recipes
If you love pastry but don’t always want to make it from scratch, try these recipes!